A Detailed Guide to Implementing Live Photos in a uni-app Mini Program
On this page
- Introduction
- Demo
- Technical Challenges
- Core Design Approach
- 1. Two-Layer Architecture
- 2. State Management
- Detailed Implementation
- 1. Core Interaction Logic
- 3. Live Indicator Design
- 4. Performance Optimization Strategies
- Usage Example
- Solving the Technical Challenges
- 1. Cross-Platform Compatibility
- 2. State Synchronization
- Core Technical Summary
- Key Technical Points
Introduction
LivePhoto is an innovative feature introduced by Apple. It combines a still photo with a short video and plays the corresponding video when the image is pressed and held, giving users a more vivid visual experience. Although Apple provides the official LivePhotoKit library for implementing this feature on the Web, platform restrictions prevent it from being used directly in mini programs. Although an official preview implementation for Live Photos in Moments was released recently, the relevant controls are not currently available to mini programs.
This article explains in detail how to implement a complete LivePhoto component with the uni-app framework, bringing an iOS-like Live Photo feature to mini programs.
Demo
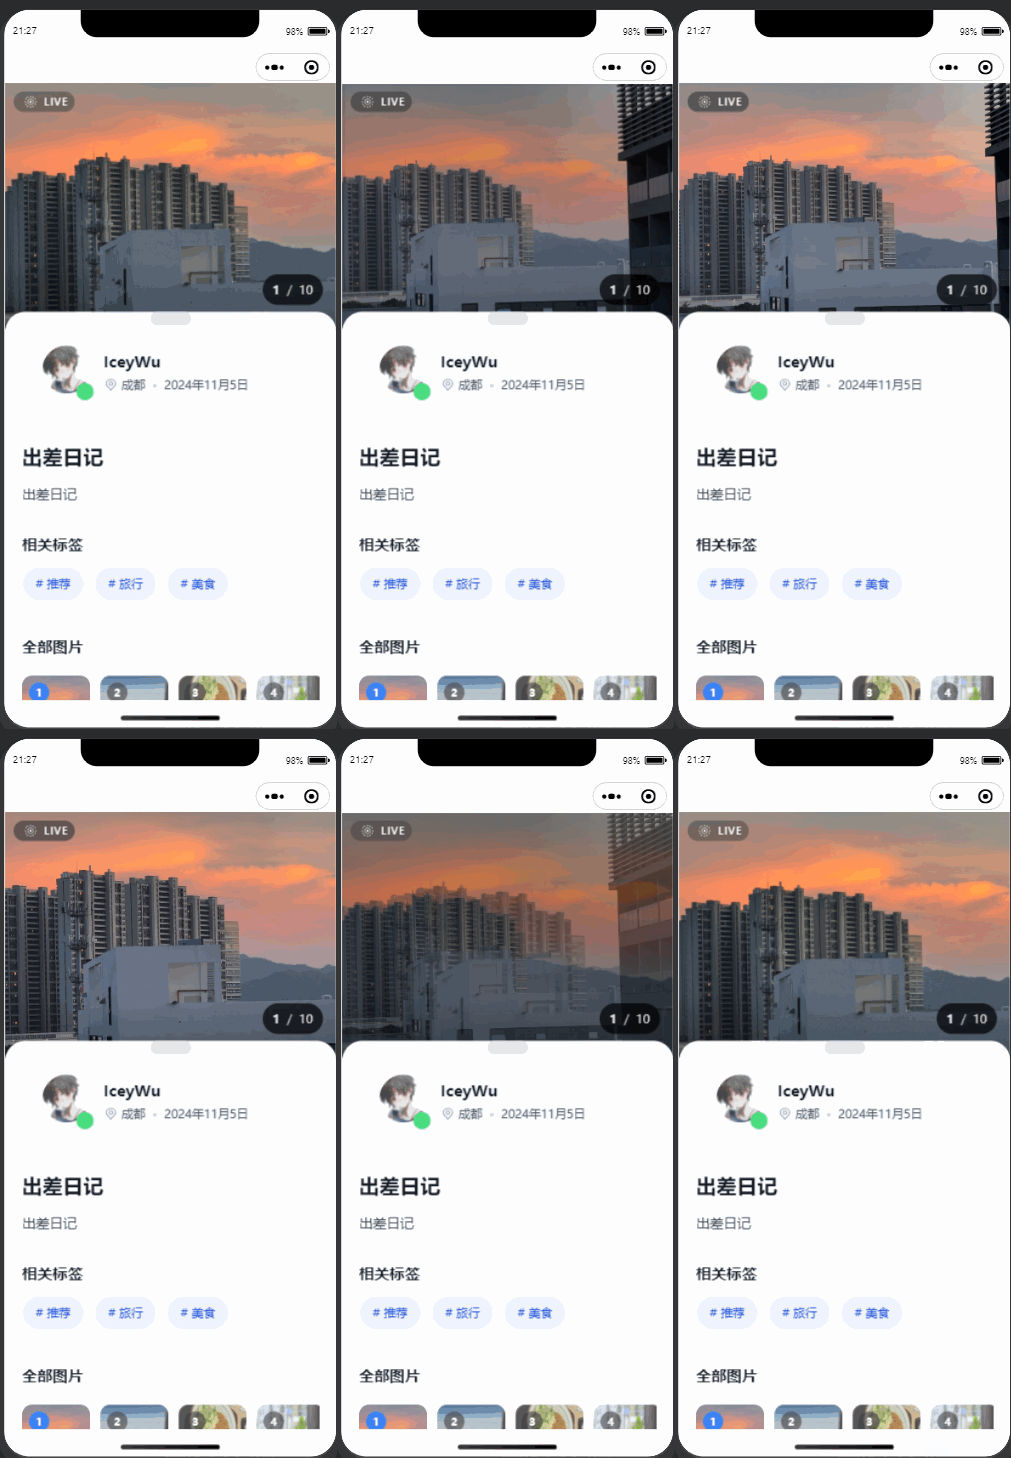
Technical Challenges
Implementing LivePhoto in a mini program presents several major challenges:
- Platform limitations: Mini programs cannot use the
livephotoskitjslibrary directly - Video control: Video playback, pausing, and resetting must be controlled precisely
- Interaction experience: Press-and-hold interaction and visual transitions must feel smooth
- Performance optimization: Video preloading and memory management
- Cross-platform compatibility: Consistent behavior across different mini program platforms
Core Design Approach
1. Two-Layer Architecture
A Live Photo is essentially a still image and a video layered together:
<template>
  <view class="up-live-photo">
    <!-- 静态图片层 - 默认显示 -->
    <view class="up-live-photo__image-layer">
      <up-image :src="props.src" />
    </view>

    <!-- 视频层 - 交互时显示 -->
    <view class="up-live-photo__video-layer">
      <video :src="props.videoSrc" />
    </view>
  </view>
</template>
2. State Management
Reactive state controls the component’s behavior:
const isPressed = ref(false)        // 是否正在长按
const isVideoPlaying = ref(false)   // 视频是否播放中
const isTransitioning = ref(false)  // 是否在过渡动画中
Detailed Implementation
1. Core Interaction Logic
Press-and-Hold Control
Implement precise control over press-and-hold interactions:
// 长按开始 - 播放视频
function onLongPressStart() {
  isPressed.value = true

  // 振动反馈
  uni.vibrateShort({ type: 'light' })

  // 播放视频
  const videoCtx = getVideoContext()
  videoCtx.play()
  isVideoPlaying.value = true
}

// 长按结束 - 暂停视频
function onLongPressEnd() {
  isPressed.value = false
  isVideoPlaying.value = false

  const videoCtx = getVideoContext()
  videoCtx.pause()
  videoCtx.seek(0)  // 重置到开始位置
}
Video Context Management
Use uni-app’s createVideoContext API for precise video control:
function getVideoContext() {
  const videoId = `live-photo-video-${componentId.value}`
  return uni.createVideoContext(videoId, instance)
}
### 2. Visual Transition Effects

Use CSS transitions to create smooth visual effects:

```scss
.up-live-photo__image-layer {
  opacity: 1;
  transform: scale(1);

  &--hidden {
    opacity: 0;
    transform: scale(0.98);
  }
}

.up-live-photo__video-layer {
  opacity: 0;
  transform: scale(1.02);

  &--visible {
    opacity: 1;
    transform: scale(1.05);
  }
}
3. Live Indicator Design
Use pure CSS to create an iOS-style LIVE indicator:
.up-live-photo__indicator {
  position: absolute;
  background: rgba(0, 0, 0, 0.6);
  backdrop-filter: blur(20rpx);
  border-radius: 24rpx;

  &__indicator-text {
    color: #ffffff;
    font-size: 24rpx;
    font-weight: 600;
    letter-spacing: 1rpx;
  }
}
4. Performance Optimization Strategies
Lazy Loading
Load the video only when needed to avoid unnecessary resource consumption:
function startVideoLoad() {
  if (isVideoLoading.value || isVideoLoaded.value) return

  isVideoLoading.value = true
  // 模拟进度增长,直到视频真正加载完成
  // ...
}
Memory Management
Clean up video resources when the component is unmounted:
onUnmounted(() => {
  const videoCtx = getVideoContext()
  if (videoCtx) {
    videoCtx.pause()
  }
})
Usage Example
<template>
  <up-live-photo
    video-src="https://example.com/video.mp4"
    src="https://example.com/image.jpg"
    @press-start="onPressStart"
    @video-play="onVideoPlay"
  />
</template>

<script setup>
function onPressStart() {
  console.log('开始长按')
}
</script>
Solving the Technical Challenges
1. Cross-Platform Compatibility
Use a unified video control interface to handle differences between mini program platforms:
function getVideoContext() {
  const videoId = `live-photo-video-${componentId.value}`
  return uni.createVideoContext(videoId, instance)
}
2. State Synchronization
Keep the visual state synchronized with the actual playback state:
function onVideoPlay() {
  isVideoPlaying.value = true
  emit('video-play')
}

function onVideoPause() {
  isVideoPlaying.value = false
  emit('video-pause')
}
Core Technical Summary
With the implementation above, we successfully created a full-featured, smooth LivePhoto component for mini programs. The component not only solves the problem that livephotoskitjs cannot be used in mini programs, but also provides in-depth performance and user experience optimizations.
Key Technical Points
- Two-layer overlay architecture: Precisely control the image and video layers for seamless switching
- State-driven design: Use reactive state management to keep the UI and logic consistent
- Precise timing control: Coordinate loading, playback, and transitions to improve the user experience
- Performance optimization strategy: Combine lazy loading and memory management to avoid wasting resources
- Cross-platform compatibility: Use a unified interface to handle differences between mini program platforms
The core of this implementation is its state-driven two-layer architecture. Through precise state management and timing control, it recreates the iOS LivePhoto interaction experience in a mini program environment.
This LivePhoto component is now integrated into the uni-ui-plus component library, ready to use out of the box without implementing it from scratch.
Project: uni-ui-plus
Online documentation: LivePhoto component documentation
Demo mini program: Try the preview version of Life Palette. The official release is not yet available, but you can scan the QR code on the Web to request access.
If you are interested in this small component, feel free to submit an issue or PR on GitHub and help improve it.